How to Use Google Search Console
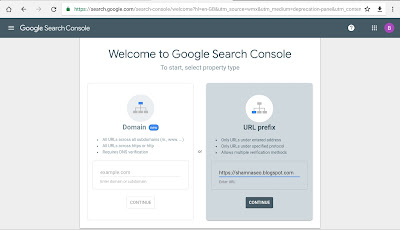
Google Search Console is a free web service offered by Google to check your website’s status on SERPs. Search console is the main communication of Google to the webmasters. You can oversee the website and troubleshoot the problems if any using the search console. Also, you will be able to understand the performance of your site on Google it involves the page visibility on google, total impressions, total clicks, etc. The former name of the search console was Google Webmaster Tool. It can give an alert when Google encounters any spam or other issues on the website. You don’t have to log in separately to verify your web page, Search console will automatically verify the web page. Through this tool, you can see the indexing of your page on SERPs and can request for indexing of a new or modified we page. You are actually submitting your site to the search console and requesting it to evaluate your site for verification and to request for indexing. Steps involved for the verification of a website on Google search console,
- Open the Google.com/webmaster/tools and paste the copied URL of the site to be verified
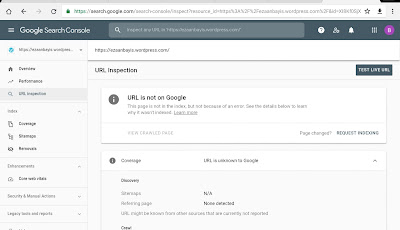
- Now search console home page will be opened. Then paste the copied URL of the website on the URL inspection box and press the enter key. The result will be URL is not available on Google.
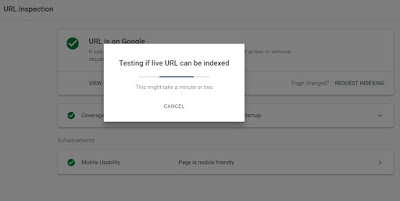
- Then click the live test button available on this window. Then the result will be the URL is available on Google.
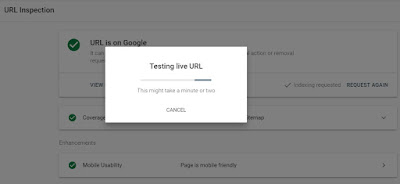
- Click the request index button and confirm the request.
Now you have successfully submitted your website to Google. Using the search console tool it’s easy to maintain the website on Google. For doing a better SEO you can modify your website at any time and submit it to search console for verification and you can ask for indexing.
The next part is to do the verification of your particular web page of the website on Google to be crawled, catches, and indexed by Google. Then you need to paste the URL of the corresponding web page to the URL inspection box and then you can repeat the same process.
If you follow these steps your website will surely index in SERPs. You can repeat this process for every blog post you are adding to your blog.
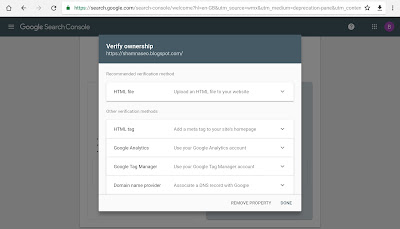
There are five ways to verify your website using google search console
- HTML file: verifying the website by uploading the HTML file to the rooter website, but if we dealing with free networks then we cannot go for this verification method because we may not be having the access to the root directory of the server.
- HTML Tag: copy the HTML tag and paste it into the header of the blog site. If you are using WordPress then simply paste it into the search console tag box
- Google Analytics: If you have already a Google Analytics account then, open an alternate tab and click on to GA radio button and click to verify
- Google Tag Manager: As long as the tag manager snippet is active on your site then you can simply do the procedure same as Google account verification
- Domain name provider: Instead of typing code you could add TXT record at the DNS provider for the verification.




No comments:
Post a Comment